This continues to show some strategic ideas from Orcika Korps II - East, both to give a better idea of how to play that scenario, but also to show strategy ideas that might be helpful in other OrcConquest games.
We left off last time with a standoff at Tobuk, the British Crusader offensive approaching, and the Italians trying to figure out how they can sneak into the French HQ.
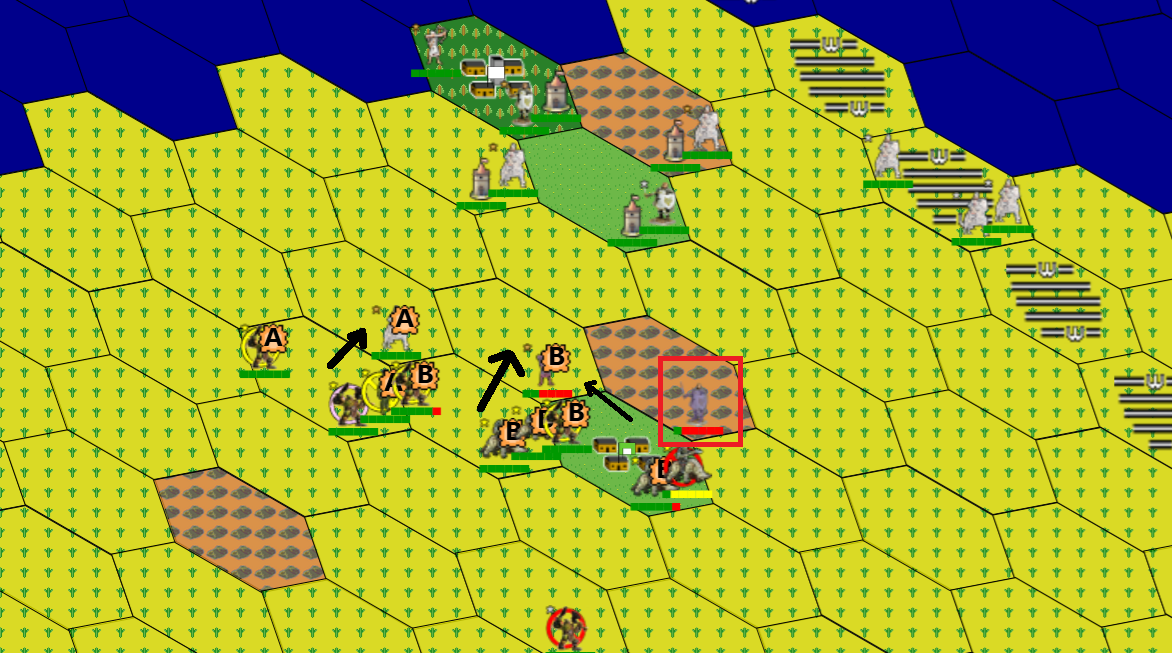
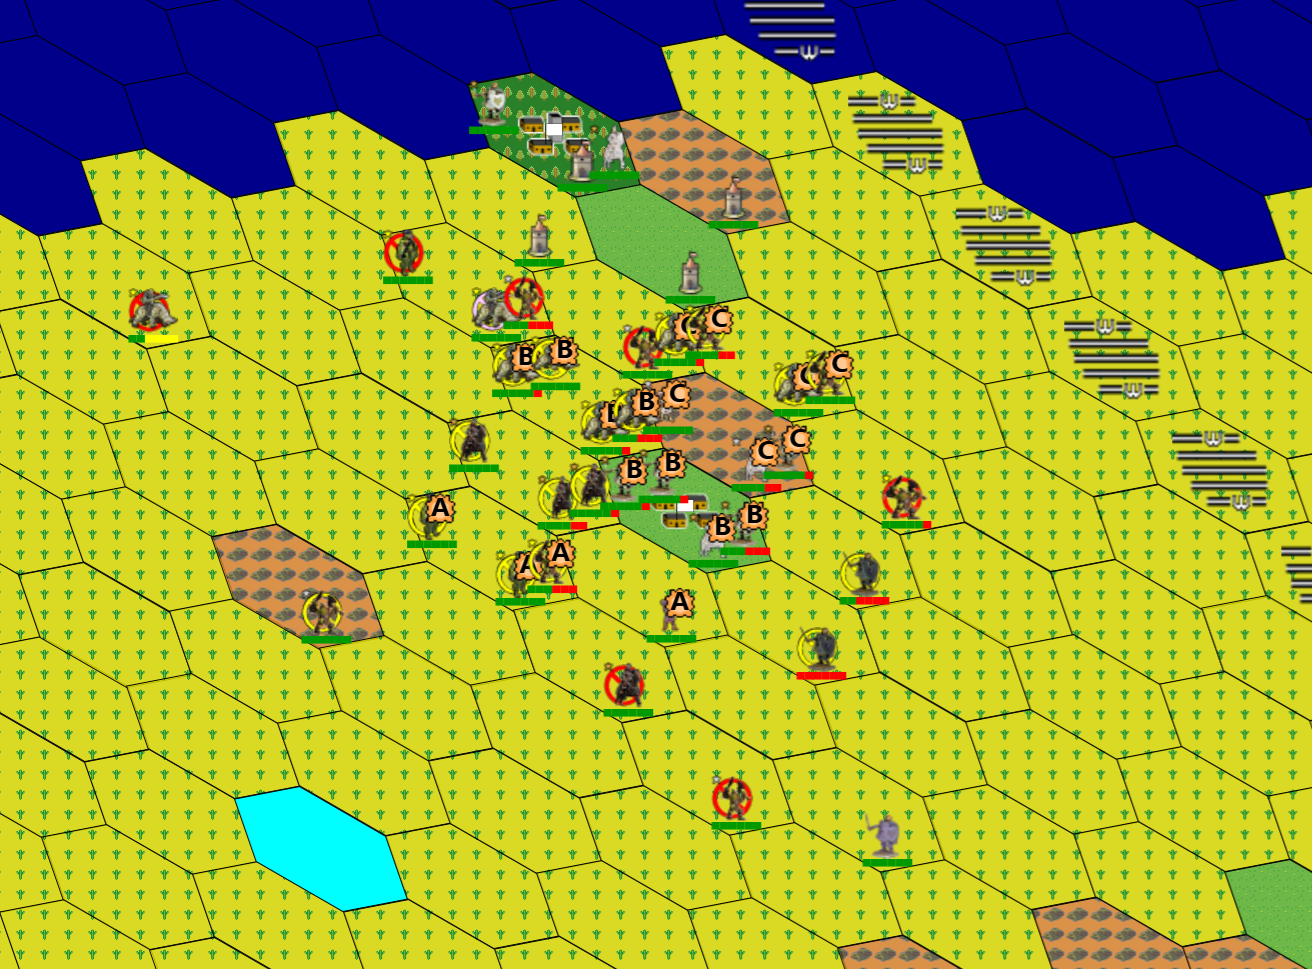
Rommel has multiple problems to deal with here. There is a badly damaged tank unit holed up in the village. It needs to be fixed, so we can't just fall back. We need to keep 3 units there to protect from the British tanks (cavalry) to the Northeast. However, as long as the other 2 units don't lead the attack, they can contribute and still protect the village.
Note the French unit highlighted on the hill next to us. We know from past turns the British move before the French. So their weak unit there is a roadblock. We'll leave it alone as an unwitting part of our new defense line. We're bugging out next turn anyway when the tanks are fixed.
The other 2 attacks are to remove the pests, and build a temporary defense line. Good wargames emphasize maneuver as well as shooting, and here we are gambling the British won't be able to get off a good shot at us before we pull out next turn.
The Italians have a tough choice. Do they try to take French HQ and risk bringing Crusader down on them instead of the Germans? Or do they go North to help their German Allies, knowing if they fall, Italian butts are next?
Put that way, the choice is obvious, and, sighing, they turn North. They are comforted by the arrival of a new Infantry division.
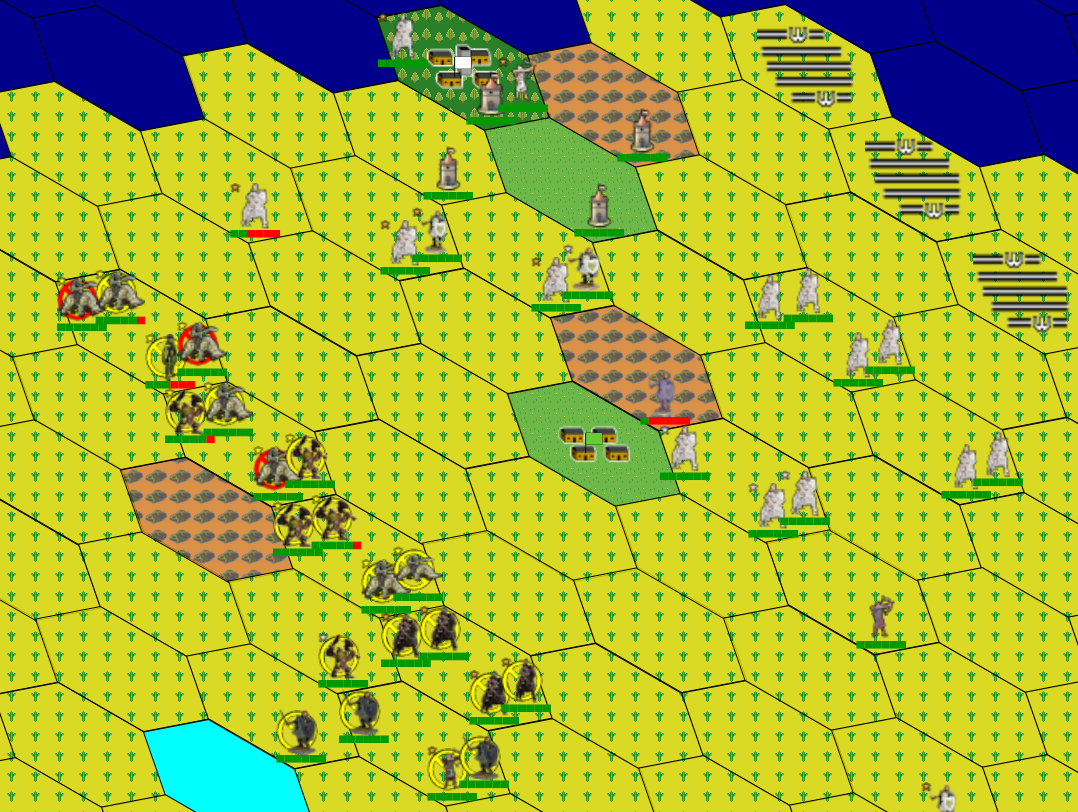
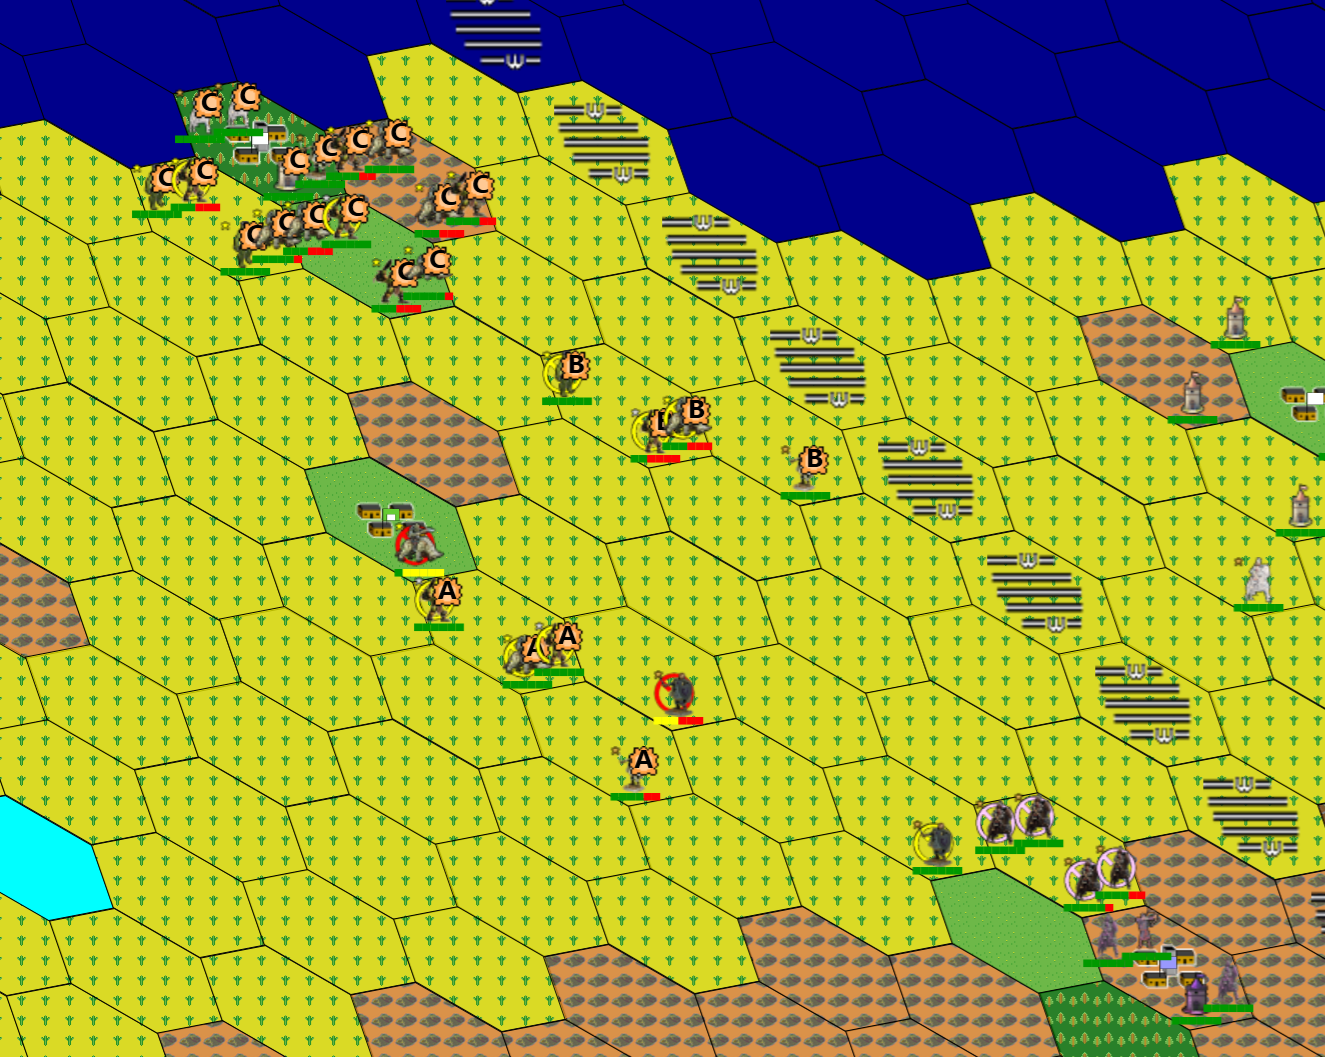
As expected, the area is crawling with Tommies. The gambit worked, and the British advanced, but didn't attack. As planned we withdrew, gladly accepting the new Panzer division that arrived. The Italians shored up the Southern flank. We will be ready to play Orcika Korps with them next turn. But will they like it?
The line was undisturbed, but the Allies did too good a job building their own line, so my hopes of an encirclement were dashed. We'll leave the bottom 2 idiots for the Italians to take care of, while the Germans hit the main force. Unfortunately, even the best results will leave 8 British units in position to counterattack the Panzers, so I've left a sacrifice fly up there to hopefully keep the British busy. Hate to use a good unit, but better than losing 4.
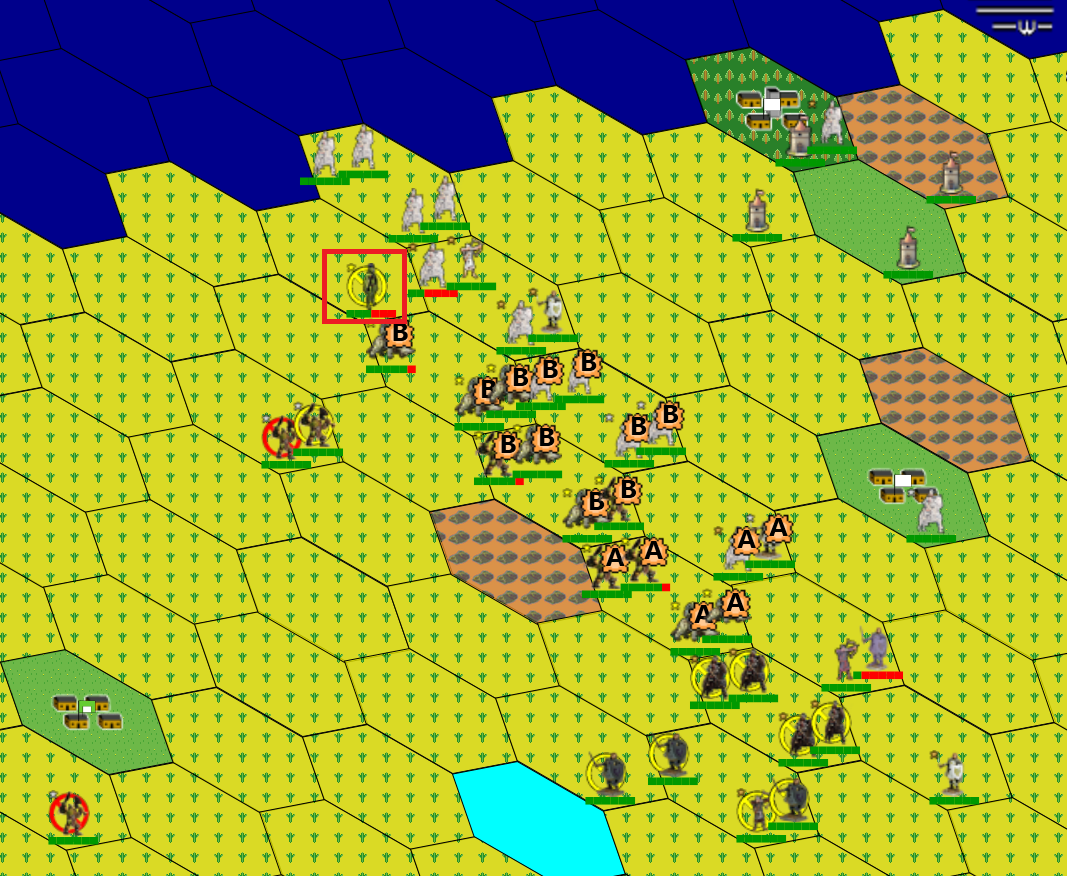
As expected, my fly was eaten. But nothing else. Rest in Peace, friend.
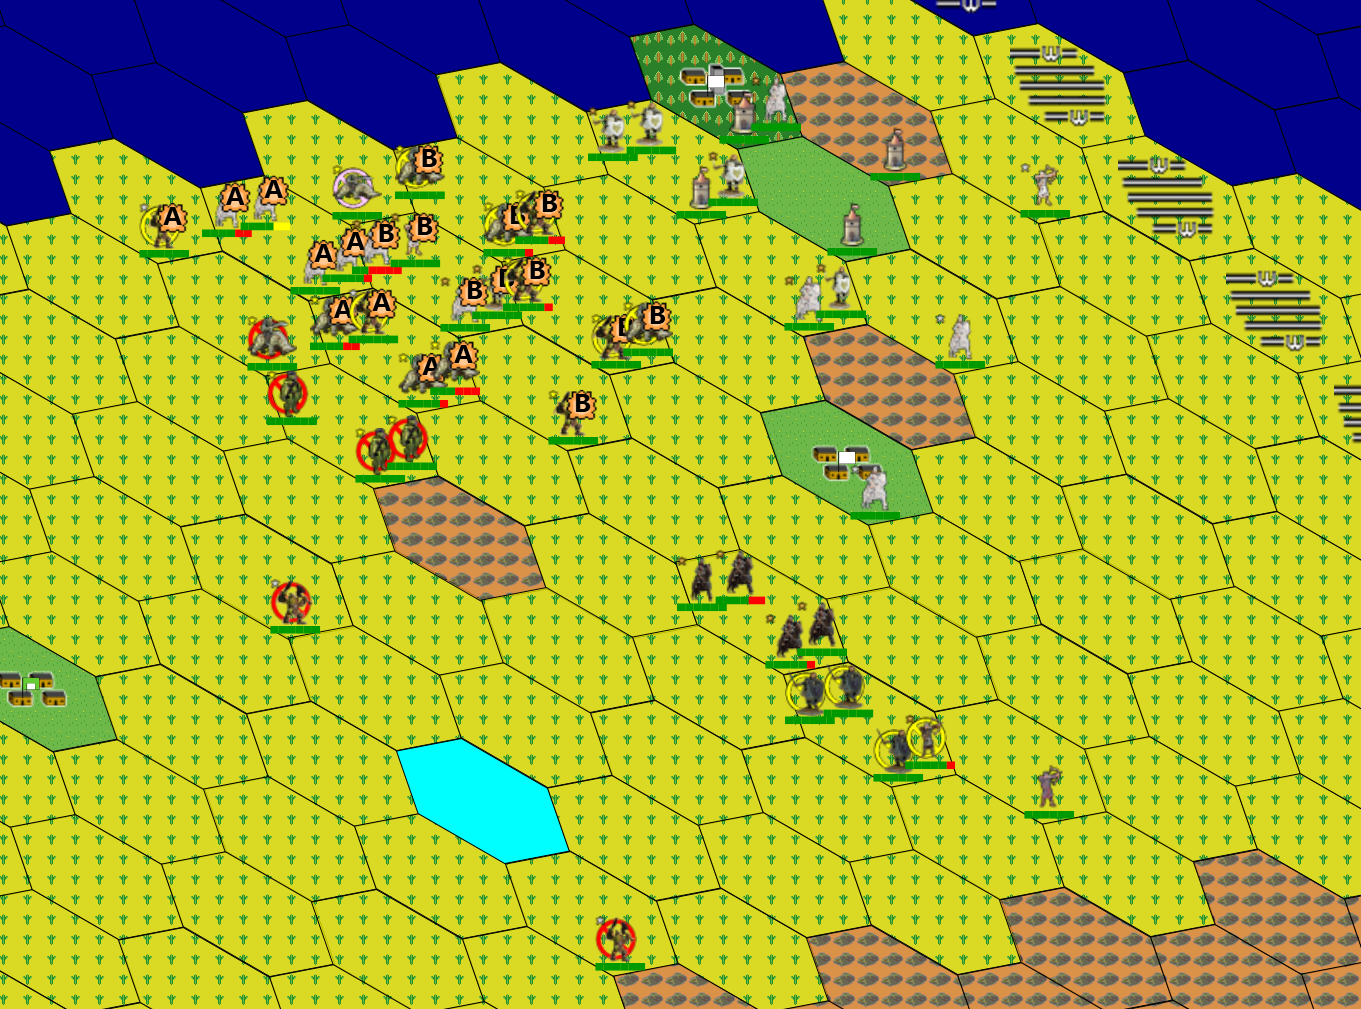
This turn is a massive encirclement battle. Keep in mind, units cannot retreat into hexes than are in a battle this turn, so even units advancing won't open up any gaps. The British have nowhere to run, and multiple flank attacks.
As our Japanese allies would so eloquently say, BANZAI! We'll rely on the Italian butt-covering service to protect our Southern flank.
The Italians succeeded, but the remaining British came out of Tobruk and hit the Italians hard. They scattered.
It also dangerously exposed them. The Germans reacted by ordering Take-Out.
Pinned between Italians and battle-hexes, the British are trapped in military Deja-Vu.
How did it turn out? Counter-offensive? What counter-offensive? These red marks, nah it's just a flesh wound.
Ah, "The Fall of Tobruk", it rolls off the tongue so nicely (unless you're Churchill). As to the Italians, their only question is: Who ordered the linguini with their Brioche?
This concludes the middle strategy guide.